Training Peaks How to start

First steps to set your new athlete account.

1. Create and connect your account to the coach.
2. Log in to your existing account or create a new one.
3. Accept the connection to your coach account and launch the APP.
4. Congrats your account has been created! Skip unnecessary steps by now.
5. HOME PAGE. Add future events.
6. CALENDAR VIEW. Click on your usermane to access the settings.
7. Configuration of the key settings.

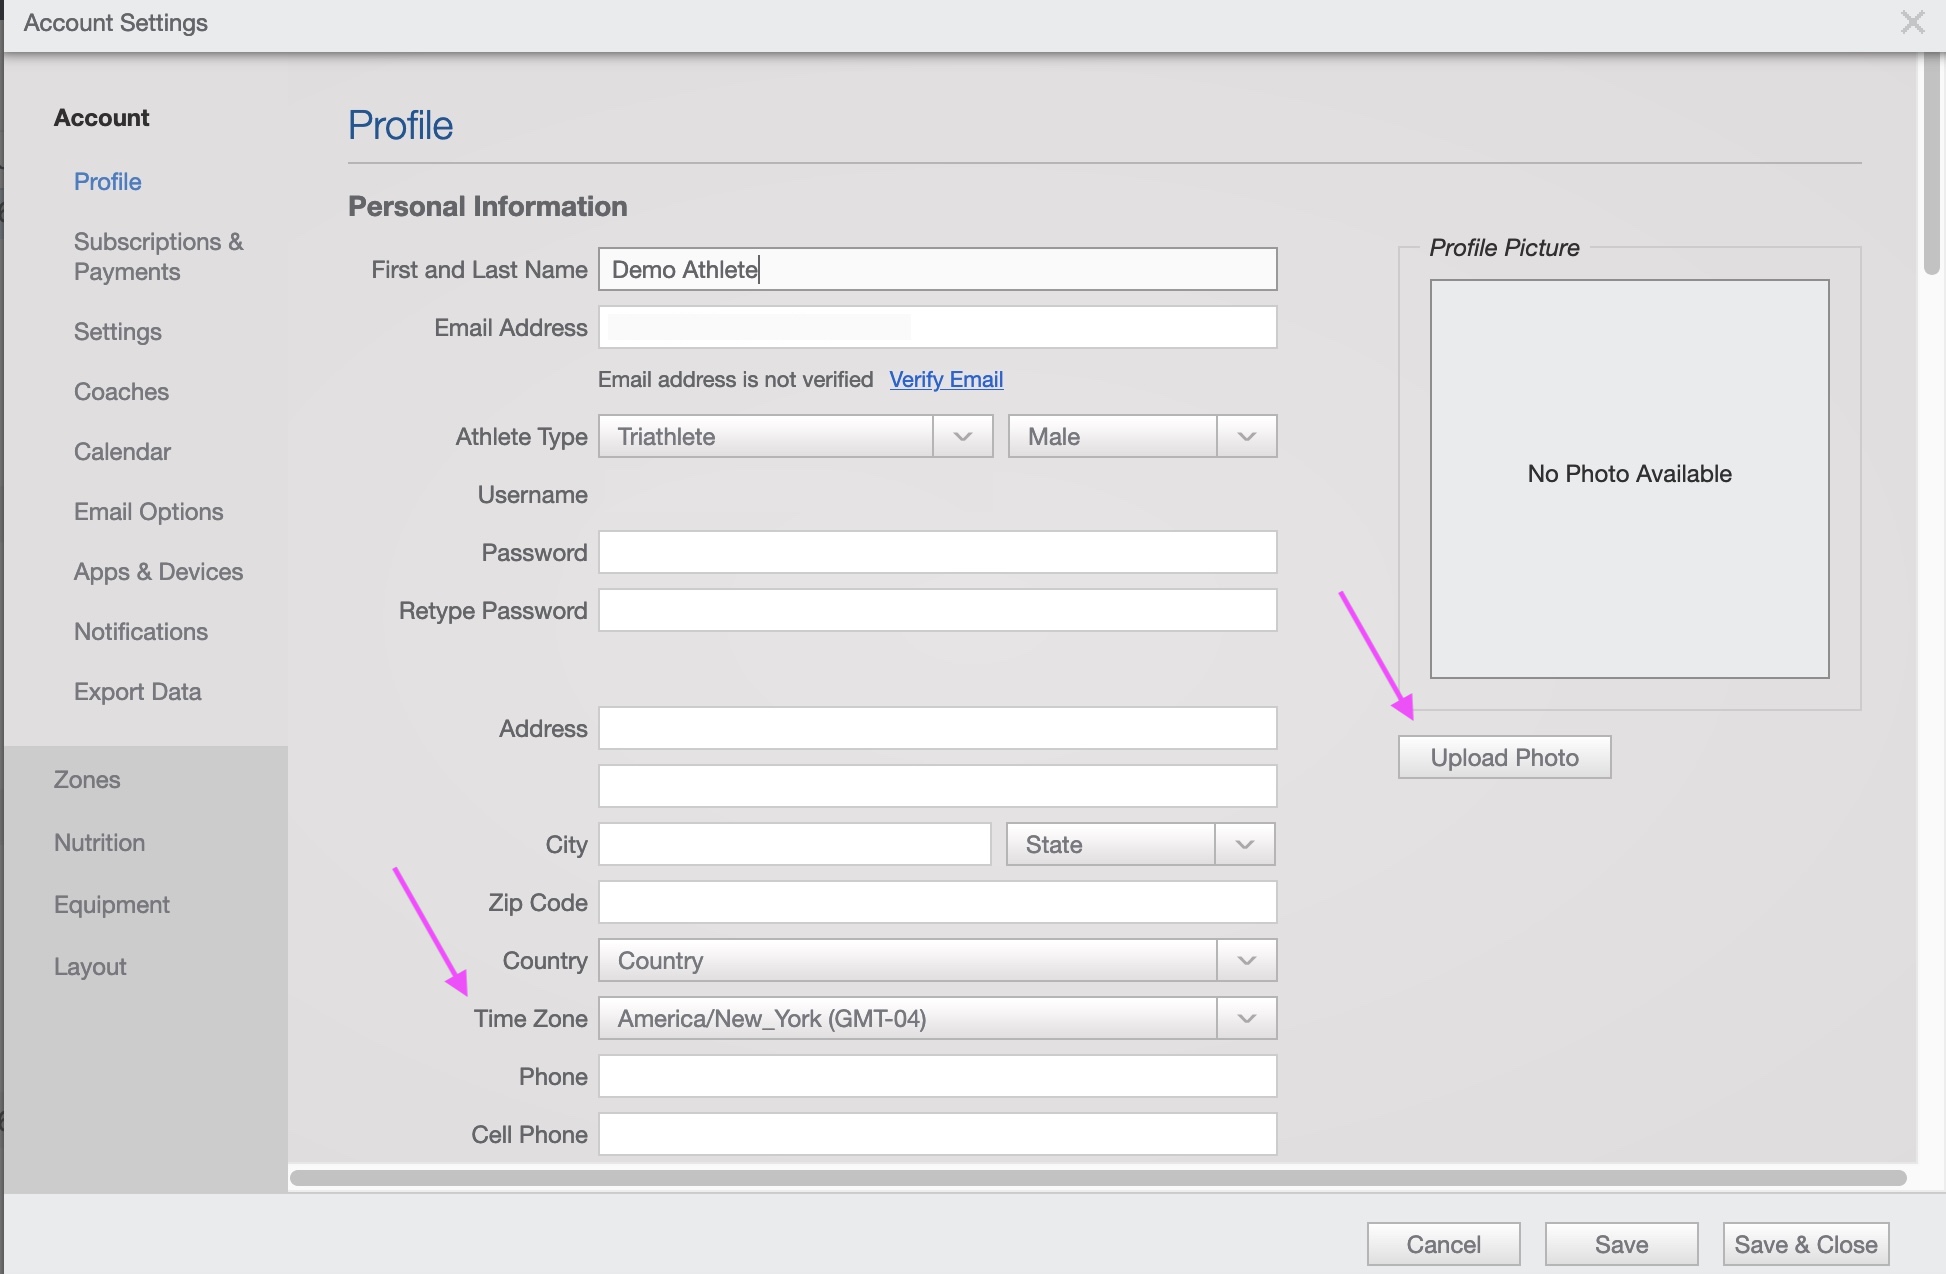
Upload a profile picture so your coach can recognize faster the athletes of the roster.

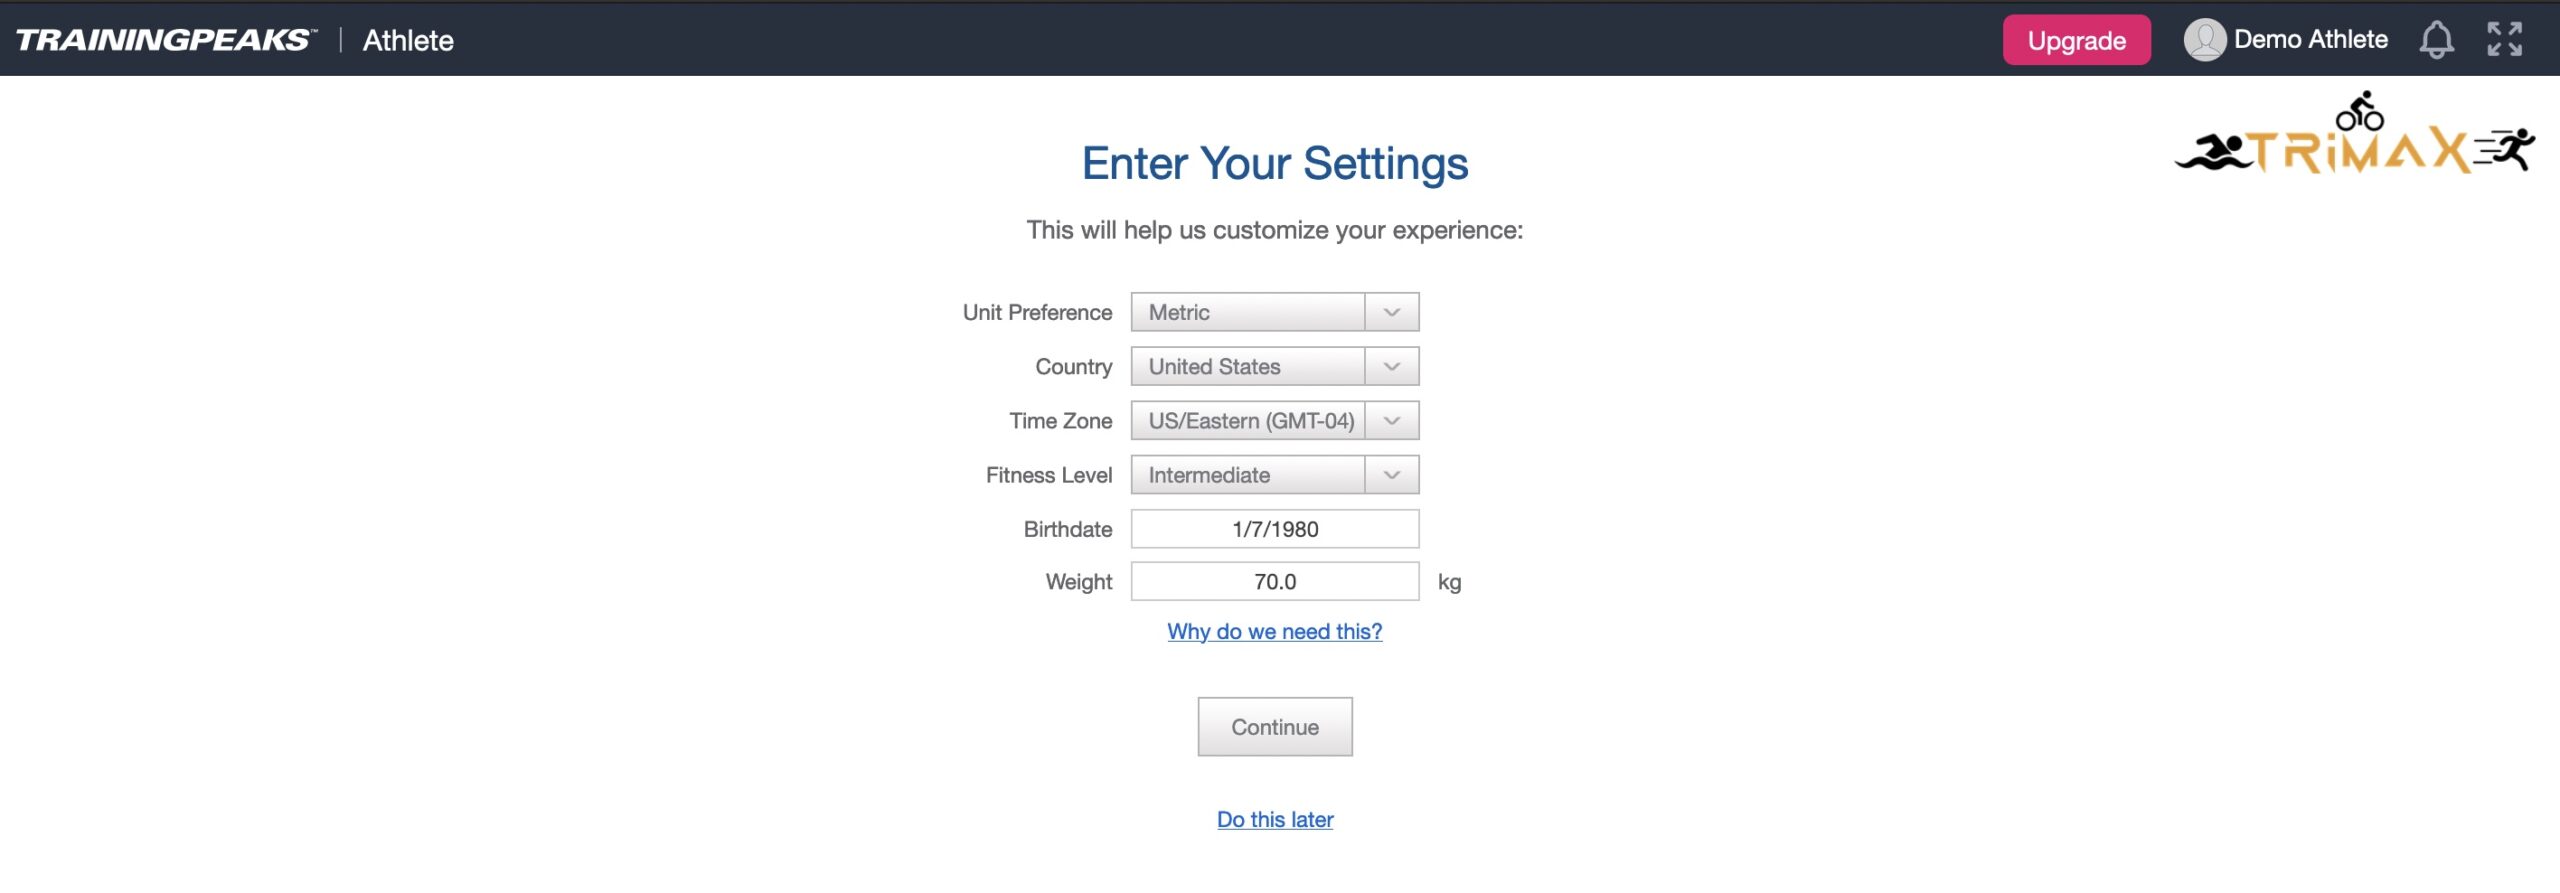
Your time zone is quite important too.

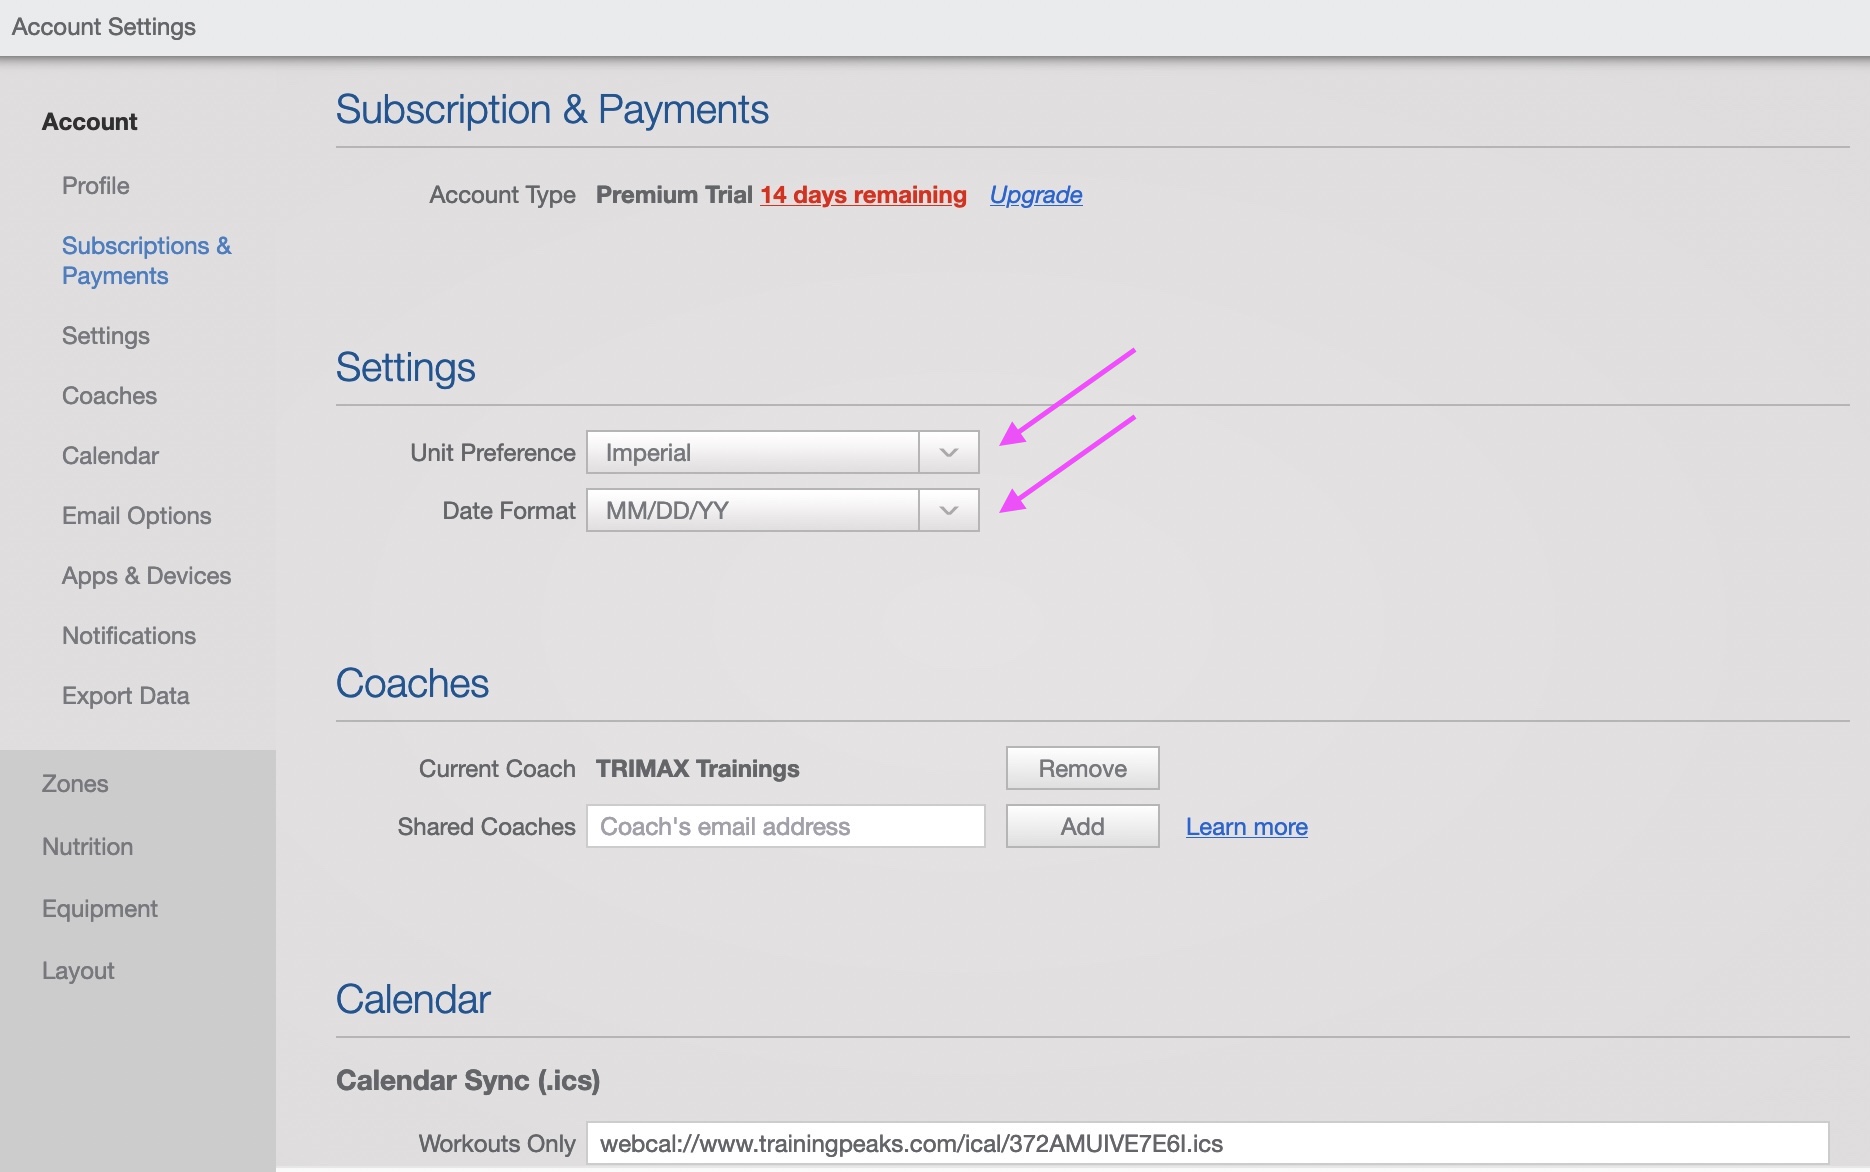
A nice feature of Training Peaks features is that the coach can work in Metric units while the athletes receive the data in Imperial if you want to.

8. Connect your devices for Auto Sync.

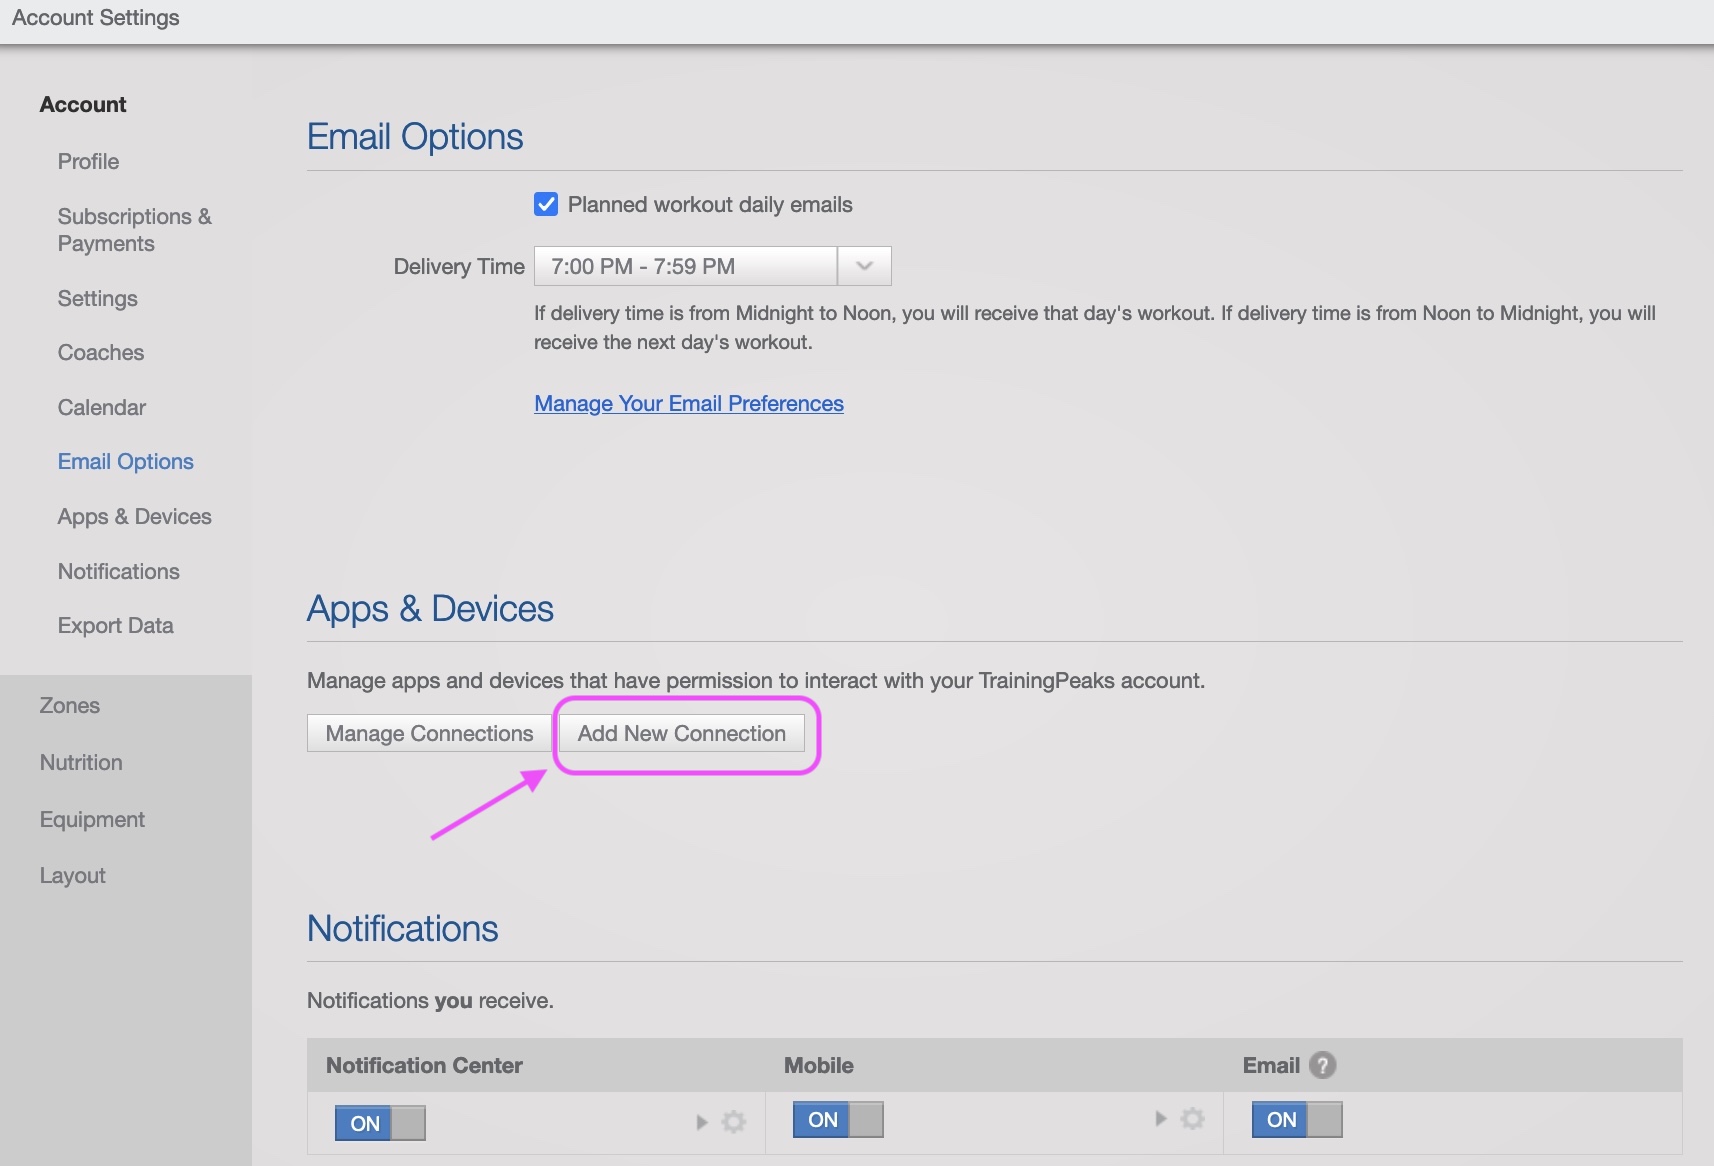
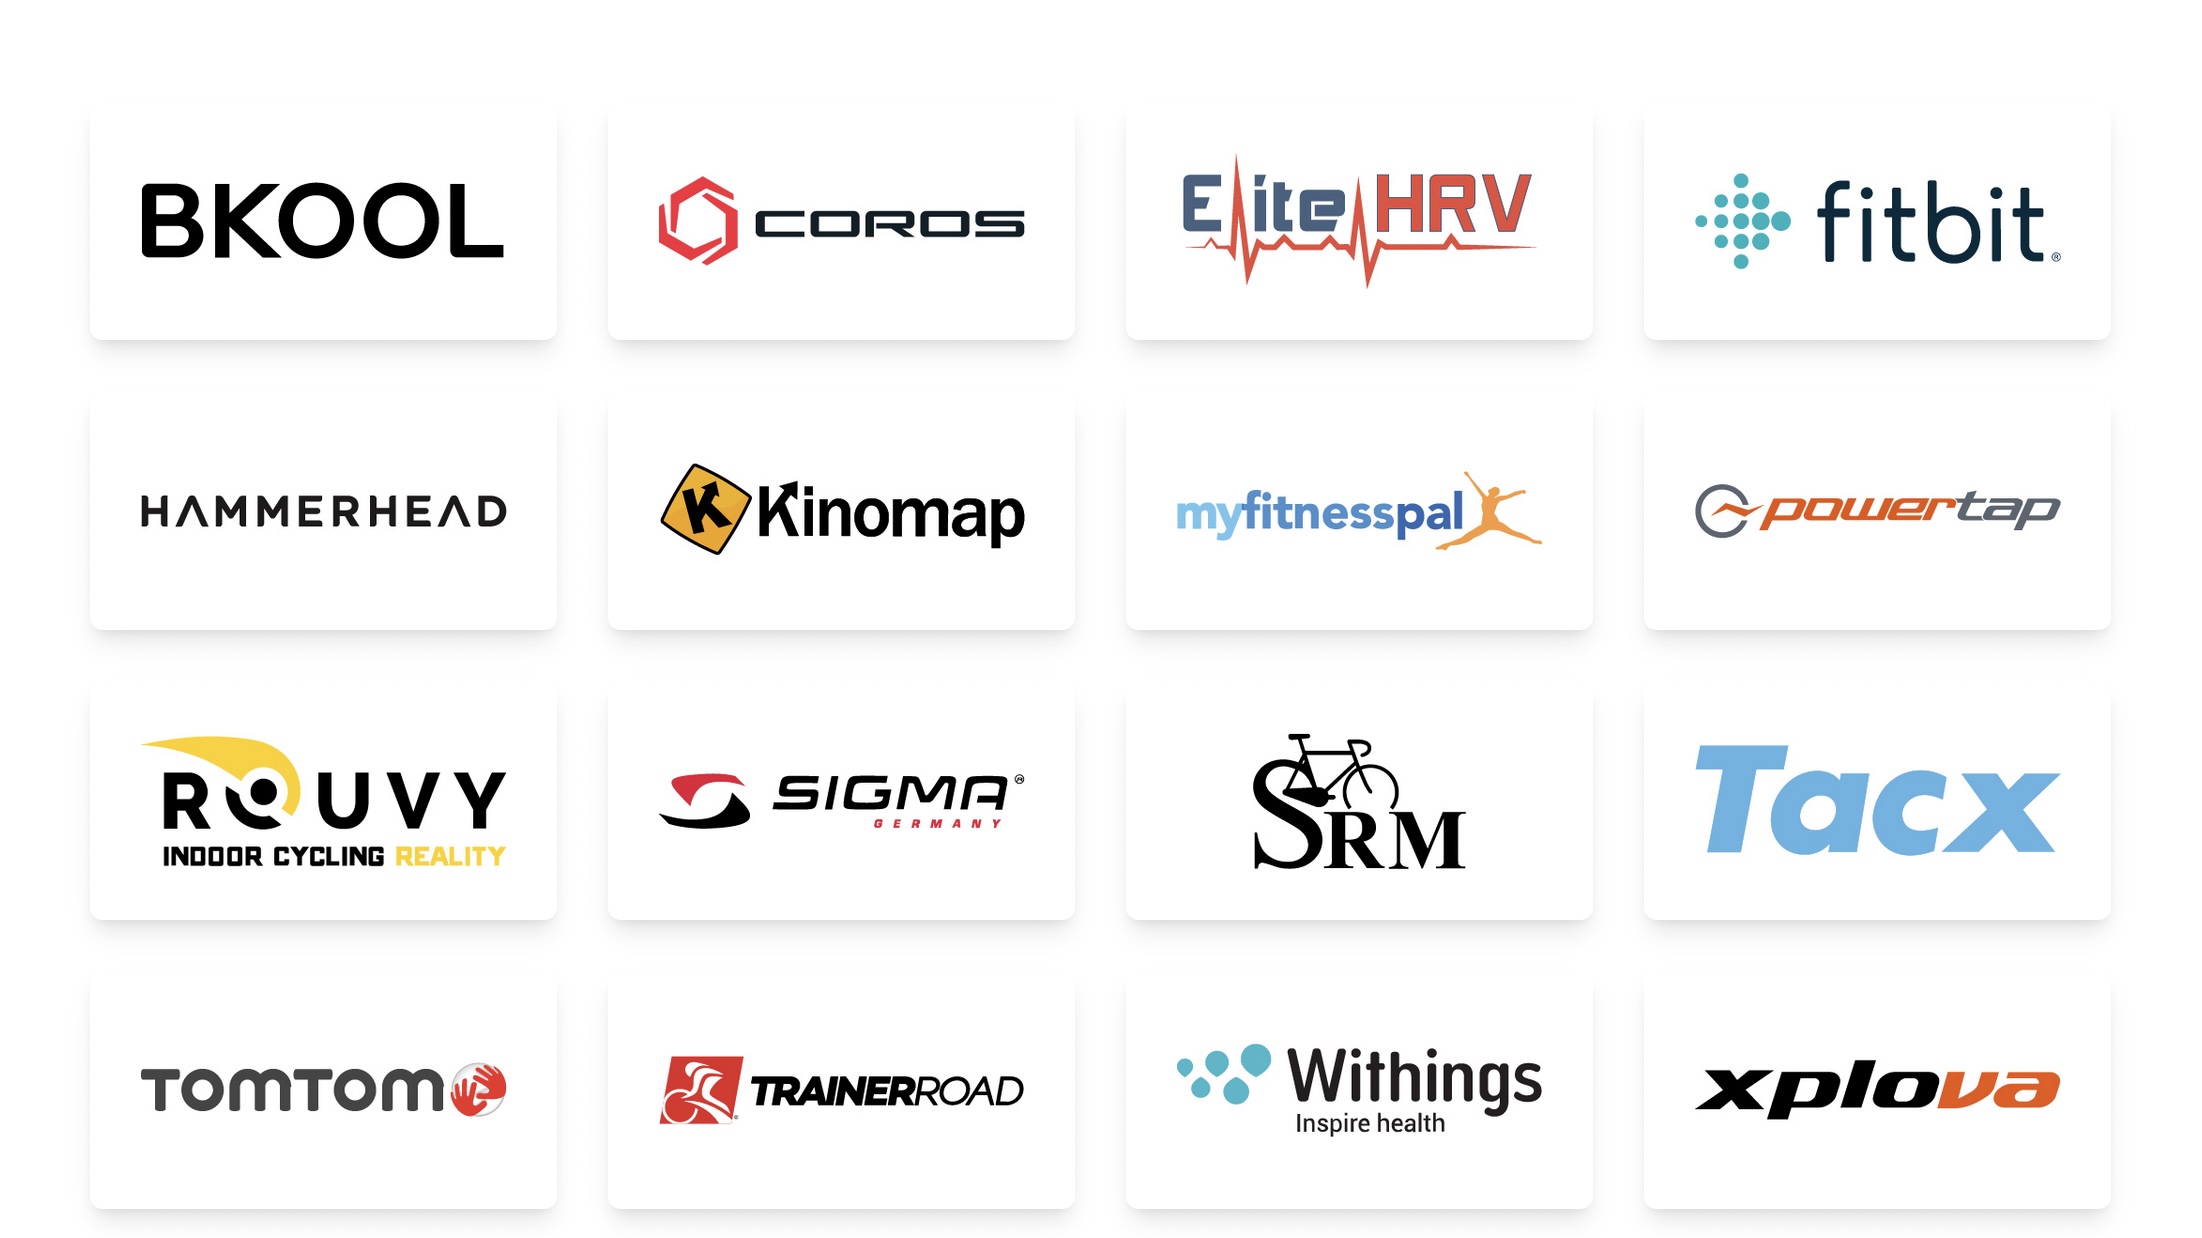
With the "Add new Connection" button we are redirected to the featured device partners.

Some partners allow to retriew past data while others just will make a new connection. 

Let's see the Garmin example.

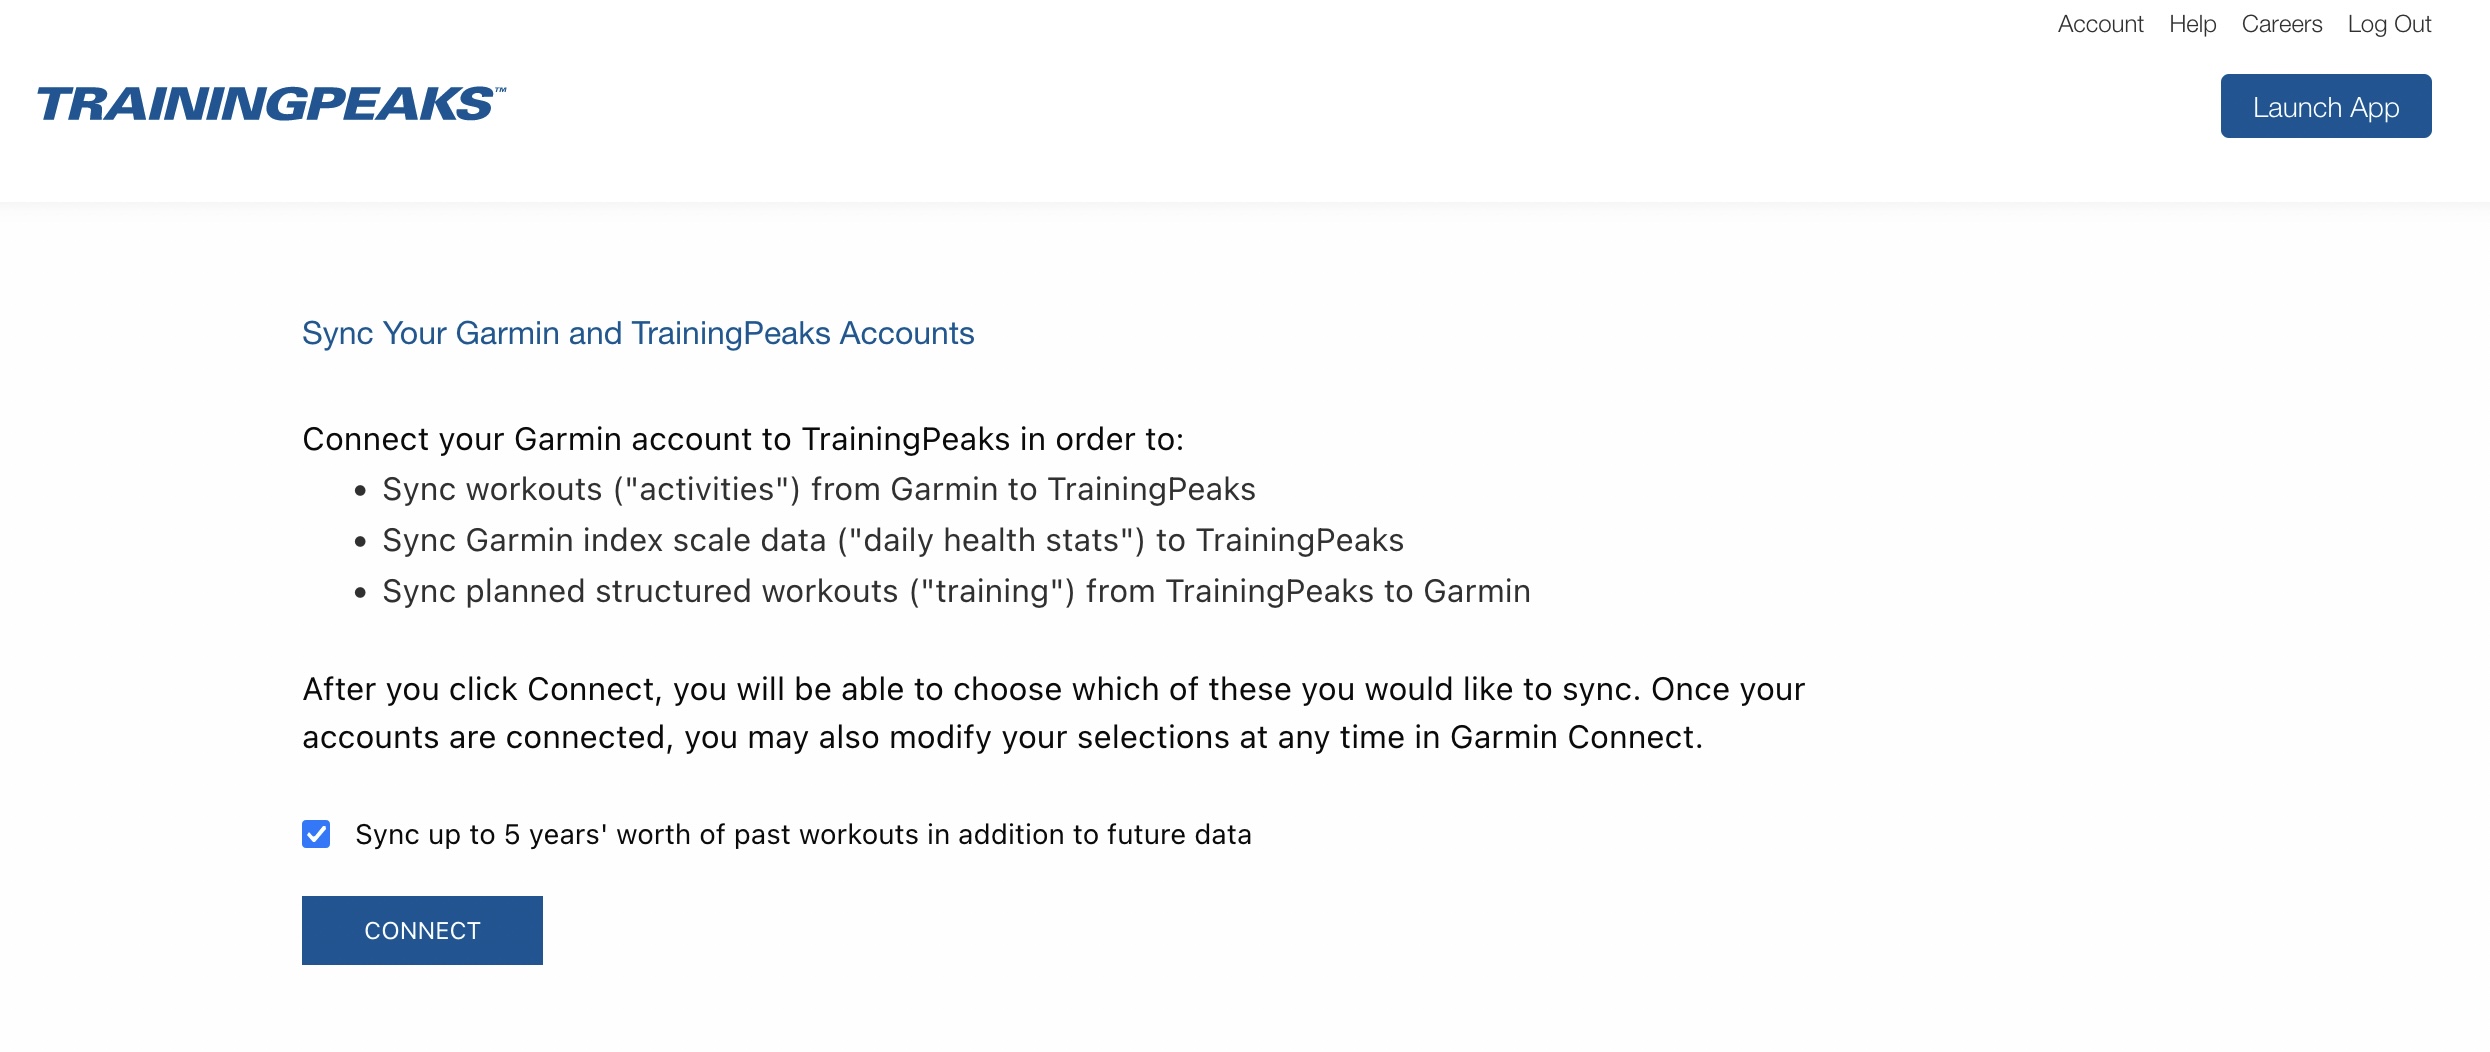
Garmin asks if you want to import older data. 

Once you connect the accounts let some hours to import the data. Please do not repeat the process unless you want 5 years of files duplicated! 

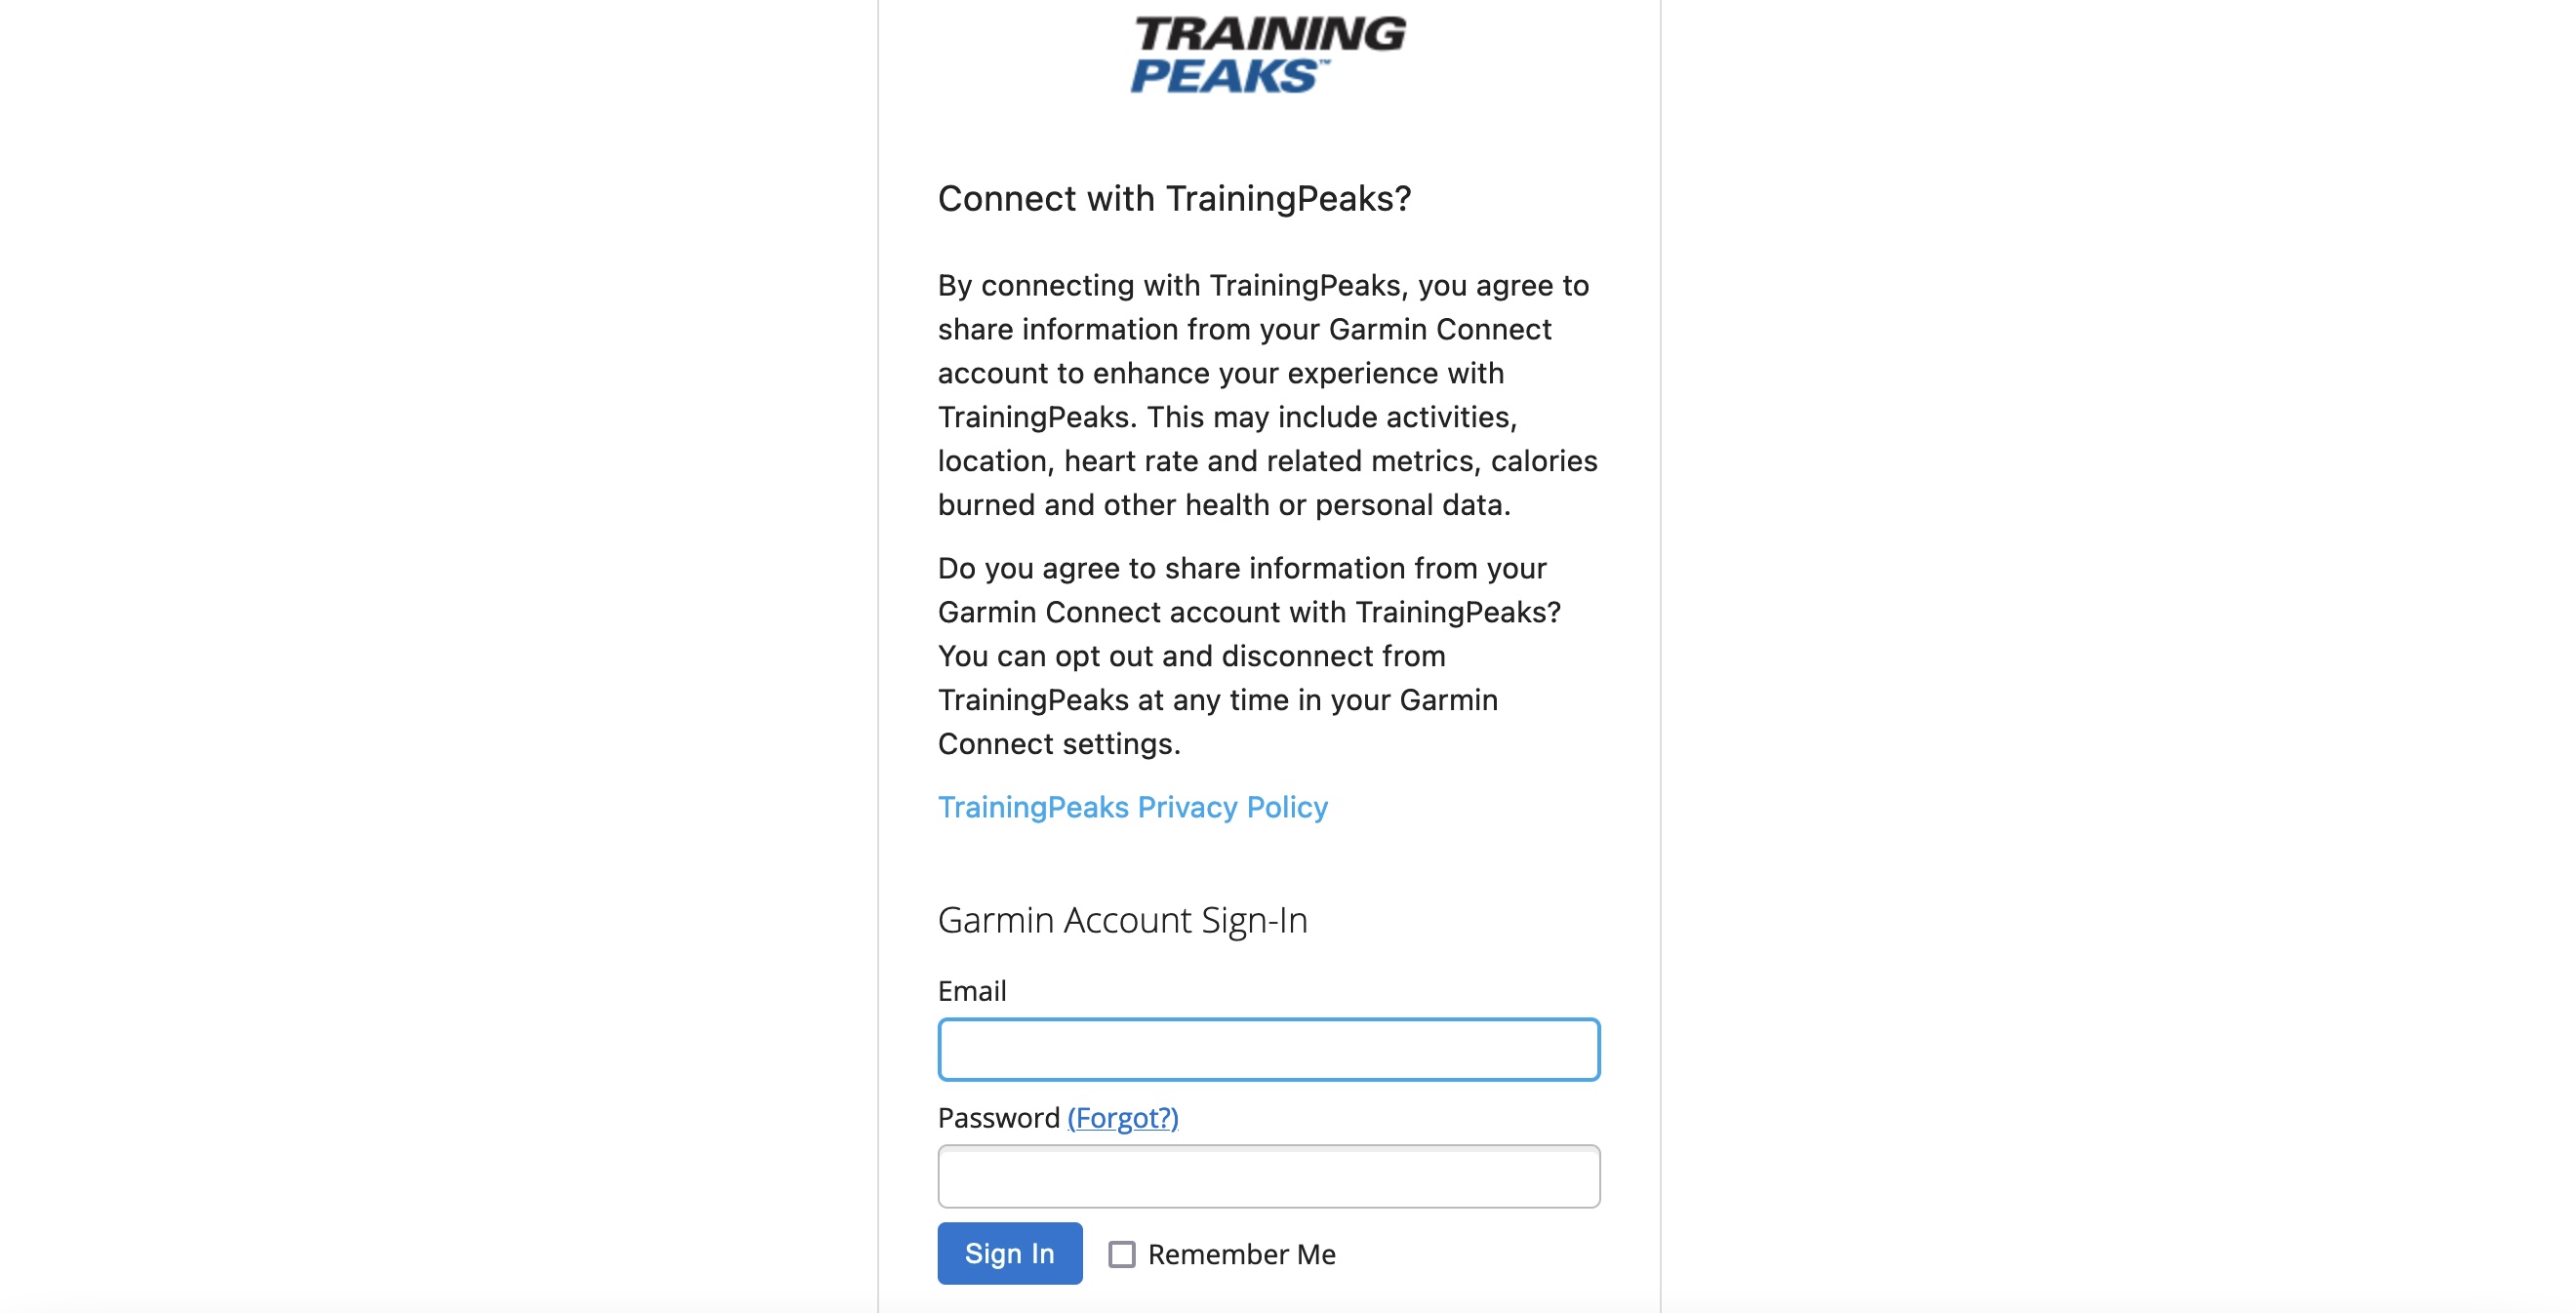
It's time to remember your Garmin sign in credentials 🙂

9. Connect other services.

Training Peaks is probably the best training APP because allows the connection to many services. 

WIFI scales, indoor cycling APPs, etc...

We hope that your Training Peaks sign up process was smooth with our guided steps.

Please contact us for doubts, we look forward to help you!

Browse our Blog section for more Training Peaks guides as the calendar view, advanced settings configuration, the annual training plan and the dashboard. 

Training Peaks also has a user guide, you can also take a look! 

Are you still training alone without a coach? Please consider our plans we can be a great time savers 🙂